About TP-Link Routers
TP-Link is a reputable brand in the field of networking equipment, providing a wide range of routers that ensure a stable and fast internet connection. Whether you are a home or business user, TP-Link routers are always a top choice thanks to their performance and ease of management.
This article will provide detailed information on how to access, manage, and troubleshoot TP-Link routers. At the same time, we will provide some instructions with related keywords, to help you optimize your user experience.

TP-Link Brand
1. How to Access TP-Link Router
1.1 Default IP Address
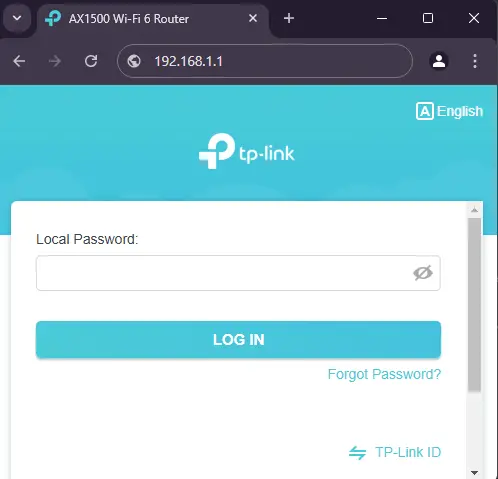
Each TP-Link router has a default IP address, usually 192.168.0.1 or 192.168.1.1. If you have not determined your exact address, please refer to the article "Find your private IP address". To access the admin interface, you need to:
- 1. Connect your device (laptop, PC or smartphone) to the Wi-Fi network or LAN cable of the TP-Link router.
- 2. Open a browser and enter this IP address in the URL bar.
- 3. Enter the username and password (the default is usually admin/admin).

Note: If you forget your password, see the section “Forgot TP-Link password” below.
1.2 How to Read LED Indicators
The LEDs on the TP-Link router indicate the operating status of the device. According to the TP-Link router user manual:
Blue light flashing slowly: Operating normally.
Orange light or off: There is an internet connection problem.
2. TP-Link Router Configuration Guide
2.1 Wi-Fi Setup
1. Access the admin interface (as instructed above).
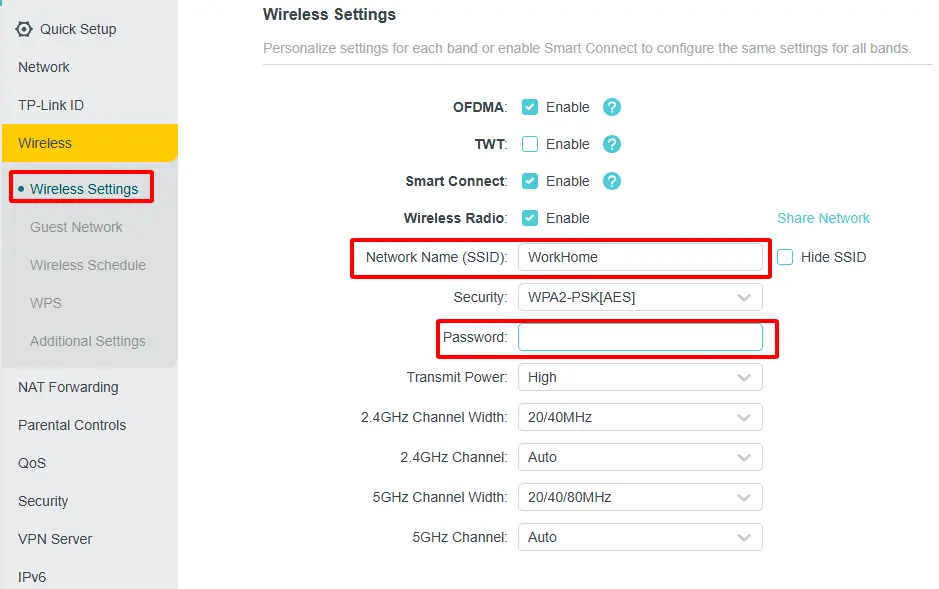
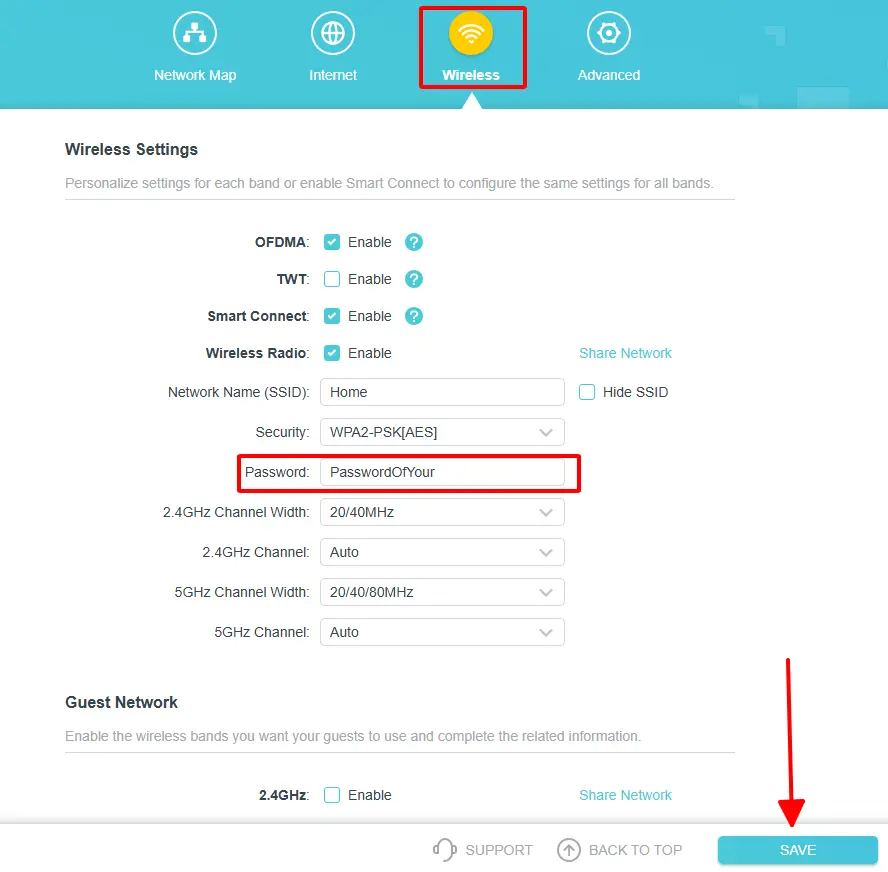
2. Go to the Wireless or Wi-Fi Settings tab.
3. Enter the Wi-Fi name (SSID) and password.
4. Save the settings by pressing Save.

2.2 Change Wi-Fi Password
1. Go to the Wireless Settings tab.
2. Change the password in the Password section.
3. Press Save to finish.

3. Troubleshooting TP-Link Router
3.1 Forgot TP-Link Router Password
Manual reset: Press and hold the reset button for 10 seconds to restore the default settings (Factory Reset TP-Link Router). Because the hole is similar to a SIM card tray, you can use the SIM eject tool to make it easier.

Log in again with admin/admin.
3.2 Update Firmware
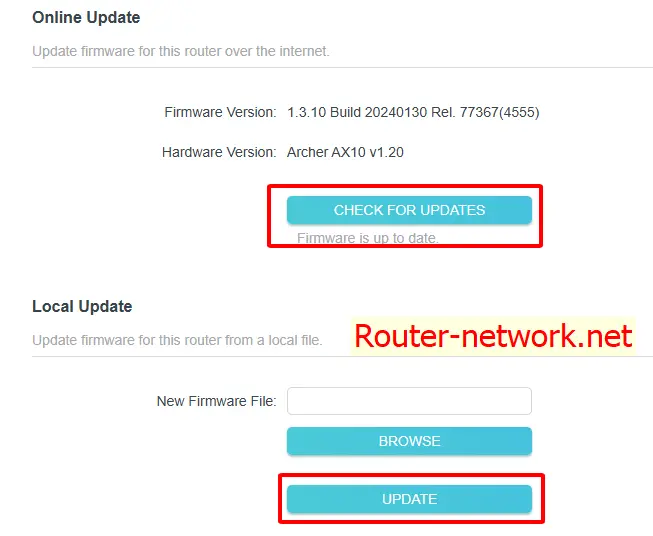
You will have 2 options to update the firmware for your router, one is online update and the other is manual update. When you update to the latest firmware from the manufacturer, the update will patch security holes and can speed up your router.
Automatic Online Firmware Update for TP-Link Router
1. Select the Advanced tab.
2. Continue to the System section.
3. Select Firmware Upgrade.
Manual Firmware Update for TP-Link Router
1. Download the latest firmware from the TP-Link website.
2. Access the admin interface and go to System Tools > Firmware Upgrade.
3. Upload the downloaded firmware file and press Upgrade.

3.3 Troubleshoot Intermittent Internet Connection
- Make sure the router is properly connected to the modem.
- Check the cables and LEDs on the router.
- Reconfigure the Internet Settings section in the admin interface.
4. Improve TP-Link Router Performance
4.1 Using TP-Link HomeShield
HomeShield provides security features, access management, and parental controls.
Deploy TP-Link Mesh Wi-Fi Router System
TP-Link Mesh Wi-Fi Router System helps you increase Wi-Fi coverage consistently and quickly.
Set up IPv6
1. Go to Advanced > IPv6 Settings.
2. Select Enable IPv6 and enter the settings from your ISP.
5. Instructions for Installing TP-Link Router via Tether App
In addition to installing via the web interface, users can use the TP-Link Tether app to install and manage the router conveniently.
5.1 Installation Steps via Tether
Step 1: Download and install the TP-Link Tether app from the App Store or Google Play.
Step 2: Connect your smartphone to the router's default Wi-Fi network.
Step 3: Open the Tether app, log in or create a TP-Link ID account.
Step 4: Select the device to be configured and follow the instructions on the app to complete the installation.
6. Instructions for Installing TP-Link Mobile Wi-Fi Router
Instructions on how to use TP-Link's mobile Wi-Fi devices, helping users to have internet connection while on the move.
6.1 Basic Installation Steps
Step 1: Insert the SIM card into the mobile Wi-Fi device.
Step 2: Turn on the device and wait for the indicator light to stabilize.
Step 3: Connect your smartphone or laptop to the Wi-Fi network emitted by the device.
Step 4: Access the default IP address (usually printed on the device) via a web browser to configure the necessary settings.
7. Instructions for Installing TP-Link Wi-Fi USB Adapter
Instructions on how to install and use the TP-Link Wi-Fi USB Adapter, which helps your desktop or laptop connect to Wi-Fi.
7.1 Installation Steps
Step 1: Plug the Wi-Fi USB Adapter into a USB port on your computer.
Step 2: Install the driver from the included CD or download it from the TP-Link official website.
Step 3: After installation, use the included management software to scan and connect to the desired Wi-Fi network.
Summary
Through the above instructions, you have seen that the TP-Link router offers high performance, is easy to install and manage. With the detailed instructions in this article, you can fully optimize your home or work network experience. If you encounter any problems, please refer to the TP-Link vendor documentation or contact TP-Link technical support for assistance.


